Devops 101: Setup an Ansible environment on Windows using Vagrant, WSL and Hyper-V
Today, I’m starting a series of articles that will focus on specific aspects of a devops environment. More specifically, these articles are intended to support the devops trainings I teach in computer science degrees or with professionals. I will cover specific technical points such as fully automated deployment and configuration of a Jenkins continuous integration server with Ansible, the usage of Ansible in combination with Vagrant for creating VMs or — and that will be today’s topic — the implementation of an Ansible learning environment on Windows using Vagrant, Windows Subsystem for Linux and Hyper-V.
You may wonder why such a specific set of tools. This is motivated by the technical choices of some of the schools where I teach, which have decided that students will work on their own machines rather than in the school’s computer rooms. Very few students use Linux. So I have to find solutions to get them to work on Linux system with reproductible builds.
Prior to that, I used to distribute a VirtualBox’ virtual drive but this is a it is a cumbersome process. Students must download the file (which is almost 14GB) from my website and keep an untouched local copy in order to test their Ansible deployments on a pristine VM.
An environment based on Vagrant is way easier to produce reproductible test environment. But compared to a work environment fully inside a VirtualBox VM, it comes with a major flaw: Ansible won’t natively run on Windows. Luckilly, in 2016, Windows released a Linux compatibility layer for Windows named Windows Subsystem for Linux. And if the whole setup is far more complex than just a VirtualBox VM, Vagrant is really a more efficient tool to create replayable deployments.
When it comes to teaching real computer science on Windows, it’s always a matter of compromise…
Step 1: Install a WSL environement
This part is easy. But it comes with a warning: WSL has two versions; version 1 is simple Linux-compatible kernel interface while WSL 2 is fully-fledged Linux kernel running on a subset of Hyper-V feature. As of now, it seems unclear is WSL 2 and another VM system like VirtualBox can coexist. VirtualBox 6 should support Hyper-V but I had students that weren’t able to run both system at the same time and had to disable Hyper-V to run VirtualBox VMs.
In this article, we won’t be using WSL 2. Hence, we’ll only be executing steps 1 and 6 of Microsoft WSL installation documentation.
Enable WSL
Open PowerShell as Administrator and run:
dism.exe /online /enable-feature /featurename:VirtualMachinePlatform /all /norestart
Restart your machine to complete the WSL install.
Install a Linux distribution for WSL
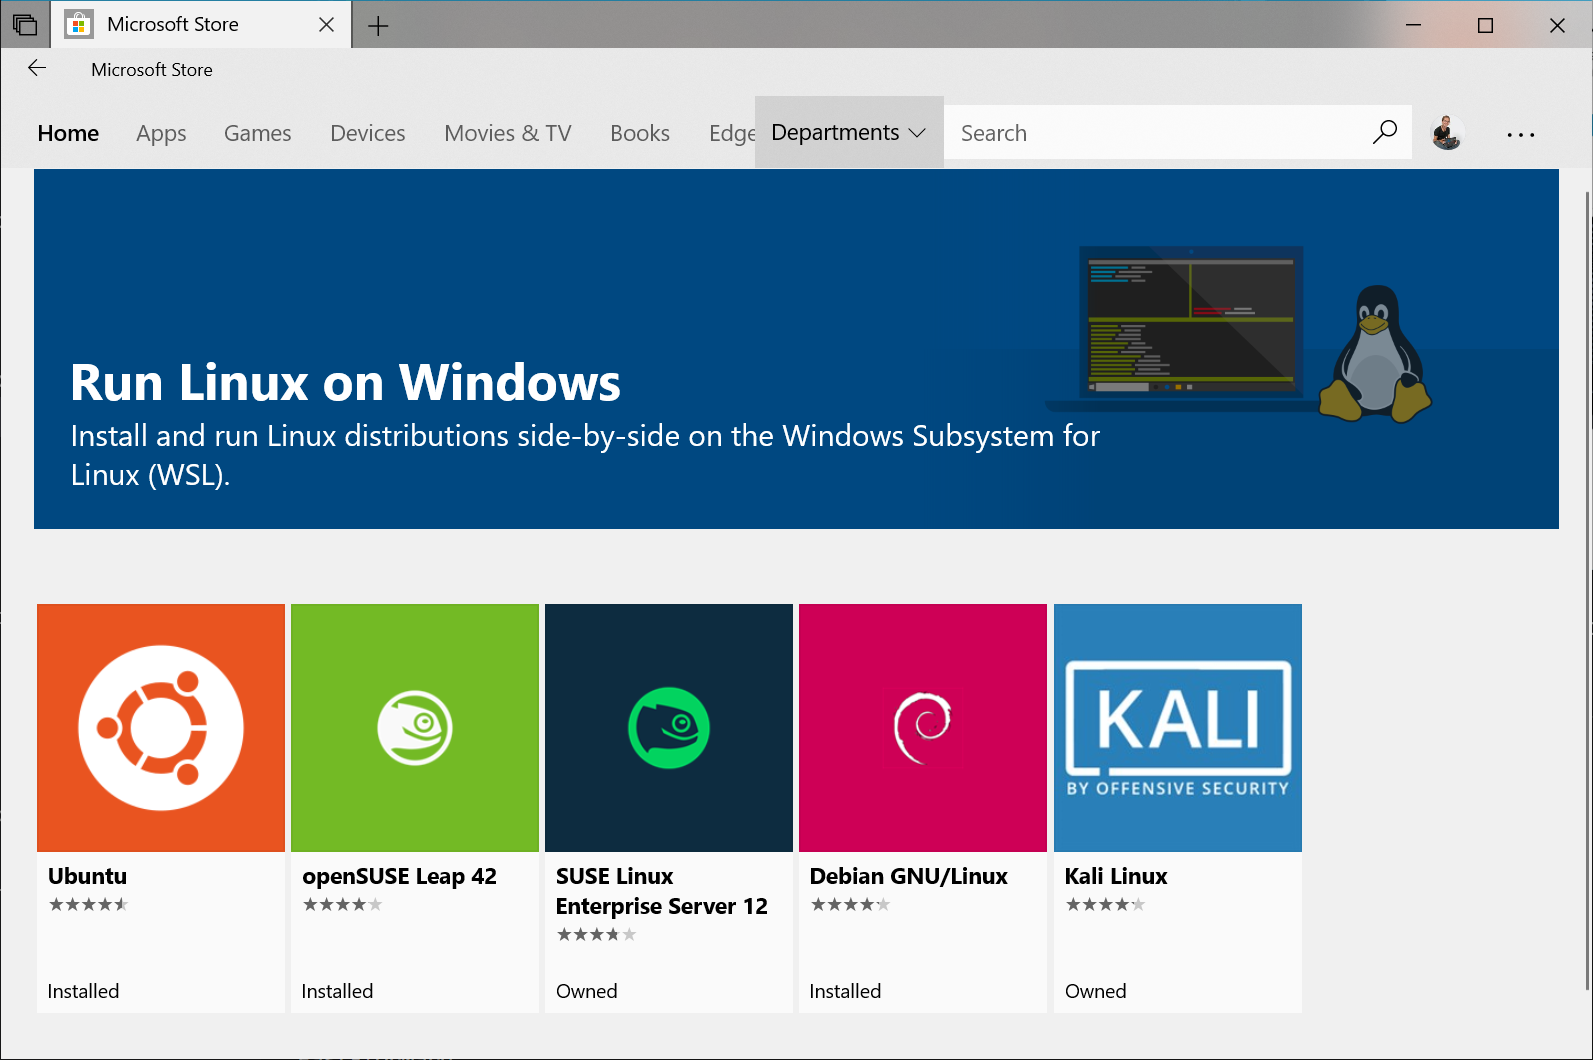
WSL alone does not do much. It’s just a compatibility layer between Linux and Windows. We need to install a proper Linux distribution for WSL from Windows store in order to get an environement on which we can run Vagrant and Ansible. You can choose whatever distribution you like from the store but the commands given in the rest of this article are valid for Ubuntu 20.04 LTS.
Get comfy in your new Linux environement
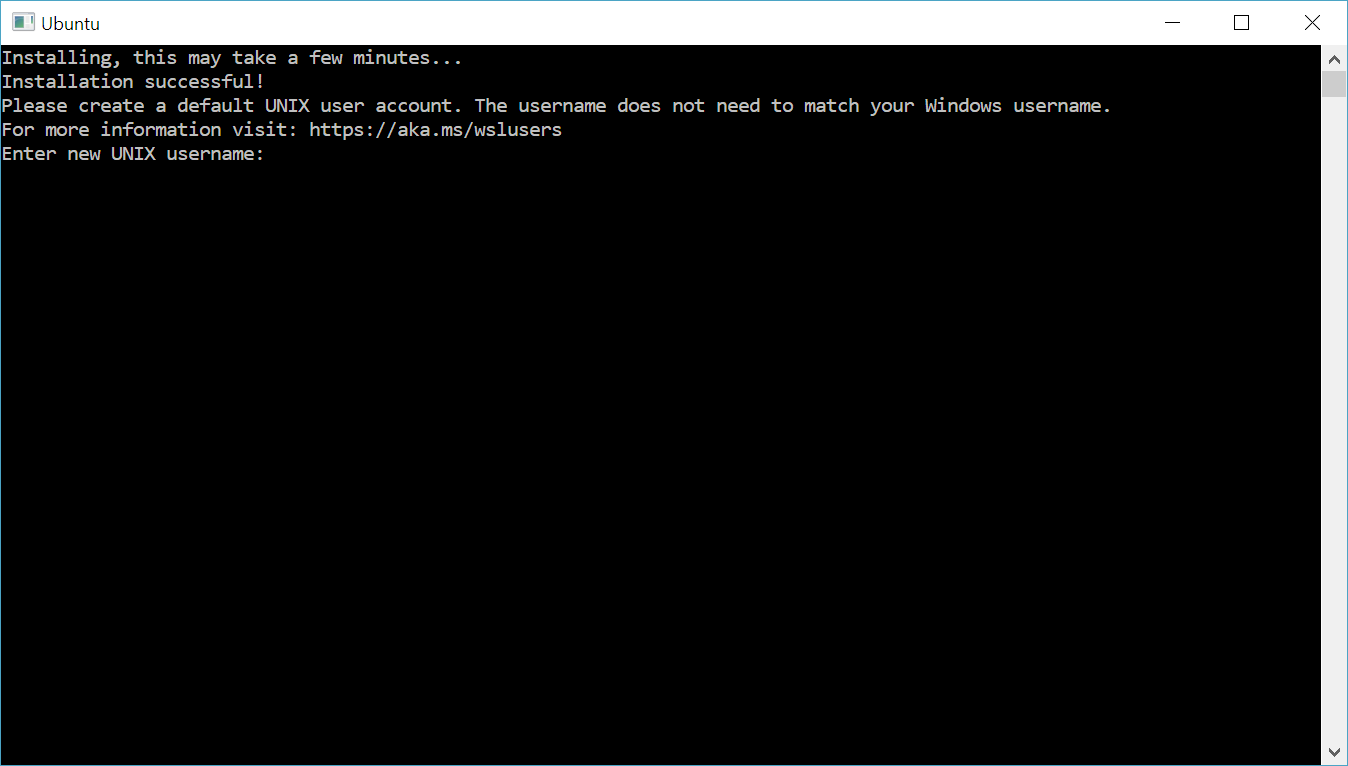
The newly installed Linux distribution is now available in your Windows appplication menu. The first time you execute it, you will be ask to create a new user inside Linux.
Inside Linux, your Windows user directory is available on the path /mnt/c/Users/<your_windows_username>
where <your_windows_username> corresponds to your Windows username. Keep this path in mind.
It’ll be userfull later.
Step 2: Vagrant and Ansible on WSL’s Ubuntu
Install Vagrant
Vagrant is a software that lets you create virtual machine on a variety of providers including
Hyper-V and VirtualBox using a script file generally called Vagrantfile, written in Ruby and
describing the configuration of the virtual machine you want to create.
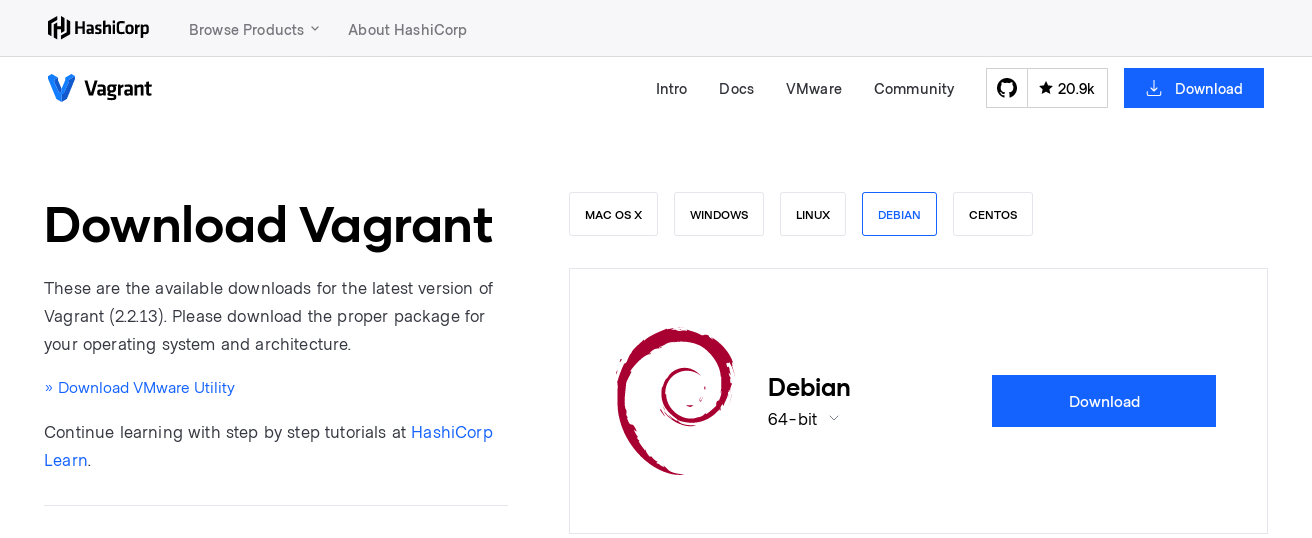
Vagrant is not available in Ubuntu’s official repos. So we’ll be installing it from Vagant’s website. Got to Vagran’s download page and select download the package for Debian.
Then, open the Ubuntu shell on Windows and type:
sudo dpkg -i /mnt/c/Users/<your_windows_username>/Downloads/<debian_package>
Where <debian_package> corresponds to the file you just downloaded from the Vagrant website.
Install Ansible
This part is easier than the previous since Ansible is officially packaged by the Ubuntu distribution. Still in Ubuntu’s shell, type the following commands:
sudo apt update -y
sudo apt dist-upgrade -y
sudo apt install ansible -y
Getting Vagrant to work smoothly on WSL
Using Vagrant on top of WSL is not as straightforward as using Vagrant in a native Linux environement. There’s a few environement variables to set to get everything to work correctly. In Ubuntu’s shell, type the following commands:
echo 'export VAGRANT_WSL_ENABLE_WINDOWS_ACCESS="1"' >> ~/.profile
# Then reload the shell configuration
. ~/.profile
Please refer to Vagrant’s documentation on WSL for an explanation on what this variable mean.
Now, you may encounter permission problems later with SSH private keys. In order to avoid them, you need to tell WSL to mouns your Windows user directory with the correct rights in Linux. Type the following in your terminal:
cat << EOF >> ~/wsl.conf
[automount]
enabled = true
options = "metadata,umask=22,fmask=0077"
EOF
sudo mv ~/wsl.conf /etc/wsl.conf
If you plan to use VirtualBox instead of Hyper-V, you should add its location to Linux’ binary path list:
echo 'export PATH="$PATH:/mnt/c/Program Files/Oracle/VirtualBox"' >> ~/.profile
Important: now close all the Ubuntu terminals opened in order to restart WSL1.
The VM provider
Vagrant can create virtual machine on both Hyper-V or VirtualBox. VirtualBox is the default VM hypervisor so you should go with it (plus: it runs well on Linux). But if you’re stuck with Hyper-V for whatever reason, you may want to know how to enable and disable it.
To enable Hyper-V, open a PowerShell terminal in administrator and type:
Enable-WindowsOptionalFeature -Online -FeatureName Microsoft-Hyper-V -All -NoRestart
Then restart.
On the contrary, you may need to disable Hyper-V to get VirtualBox to work correctly — again: it’s not certain; on my computer both system can’t coexist). If you need to disable Hyper-V, open a PowerShell terminal in administrator and type:
Disable-WindowsOptionalFeature -Online -FeatureName Microsoft-Hyper-V-Hypervisor -NoRestart
Both disabling and enabling Hyper-V requires restart.
Troubleshoot
During my teaching class, a fair amount of my students encounter errors of type VERR_NEM_*
on Windows. These errors seem to happen because of a conflict with Hyper-V, even after
disabling it with the command given above. For some of them, this error easily resolves
by disabling Hyper-V autostart with command:
bcdedit /set hypervisorlaunchtype off
and then reboot. Some users indicates you may need to reboot twice.
To reverse this command, you can use:
bcdedit /set hypervisorlaunchtype auto
If this doesn’t work, this page from superuser.com
lists a bunch of operations you may need to perform on your machine to get it
to work.
Conclusion
That’s it for today. Carefully following these step should get you a working Vagrant + Ansible devops environement on Windows 10. Our journey does not stop here, though. We still have a few things to learn about Vagrant. But that’s another story.
-
It’s not clear whether just closing the terminals is sufficient to reload the config of
/etc/wsl.conf. You may need to restart your computer. ↩